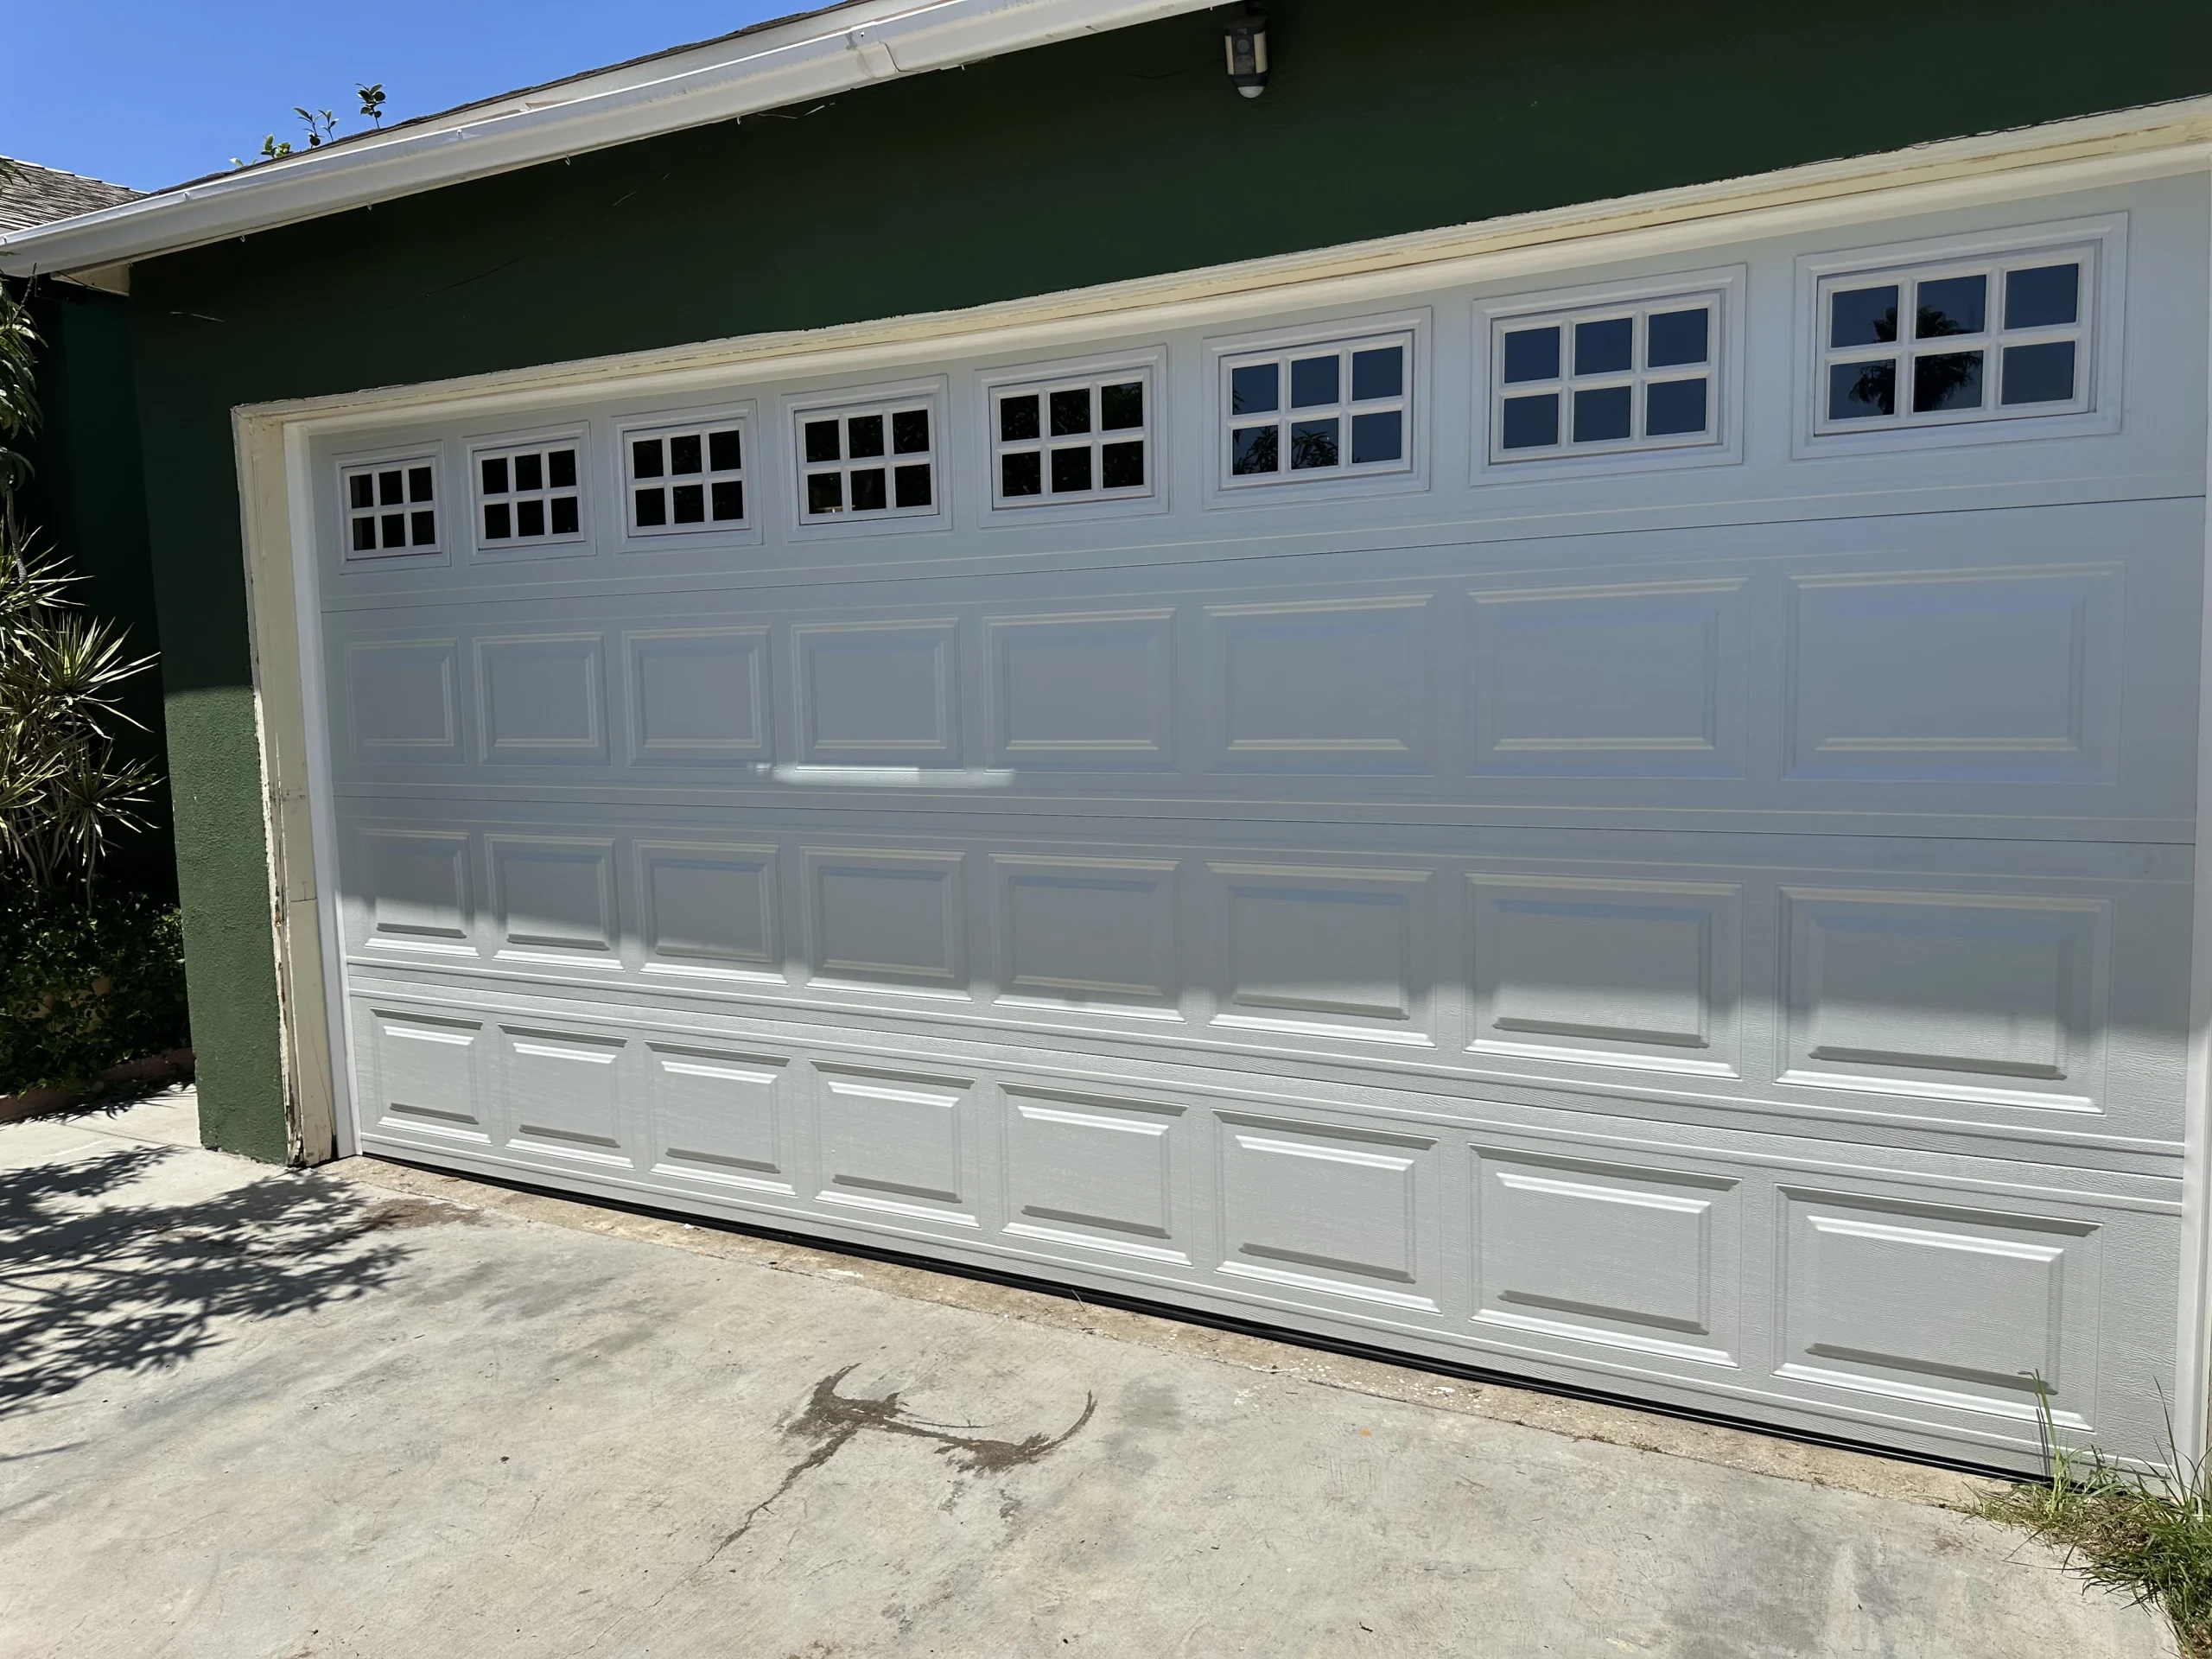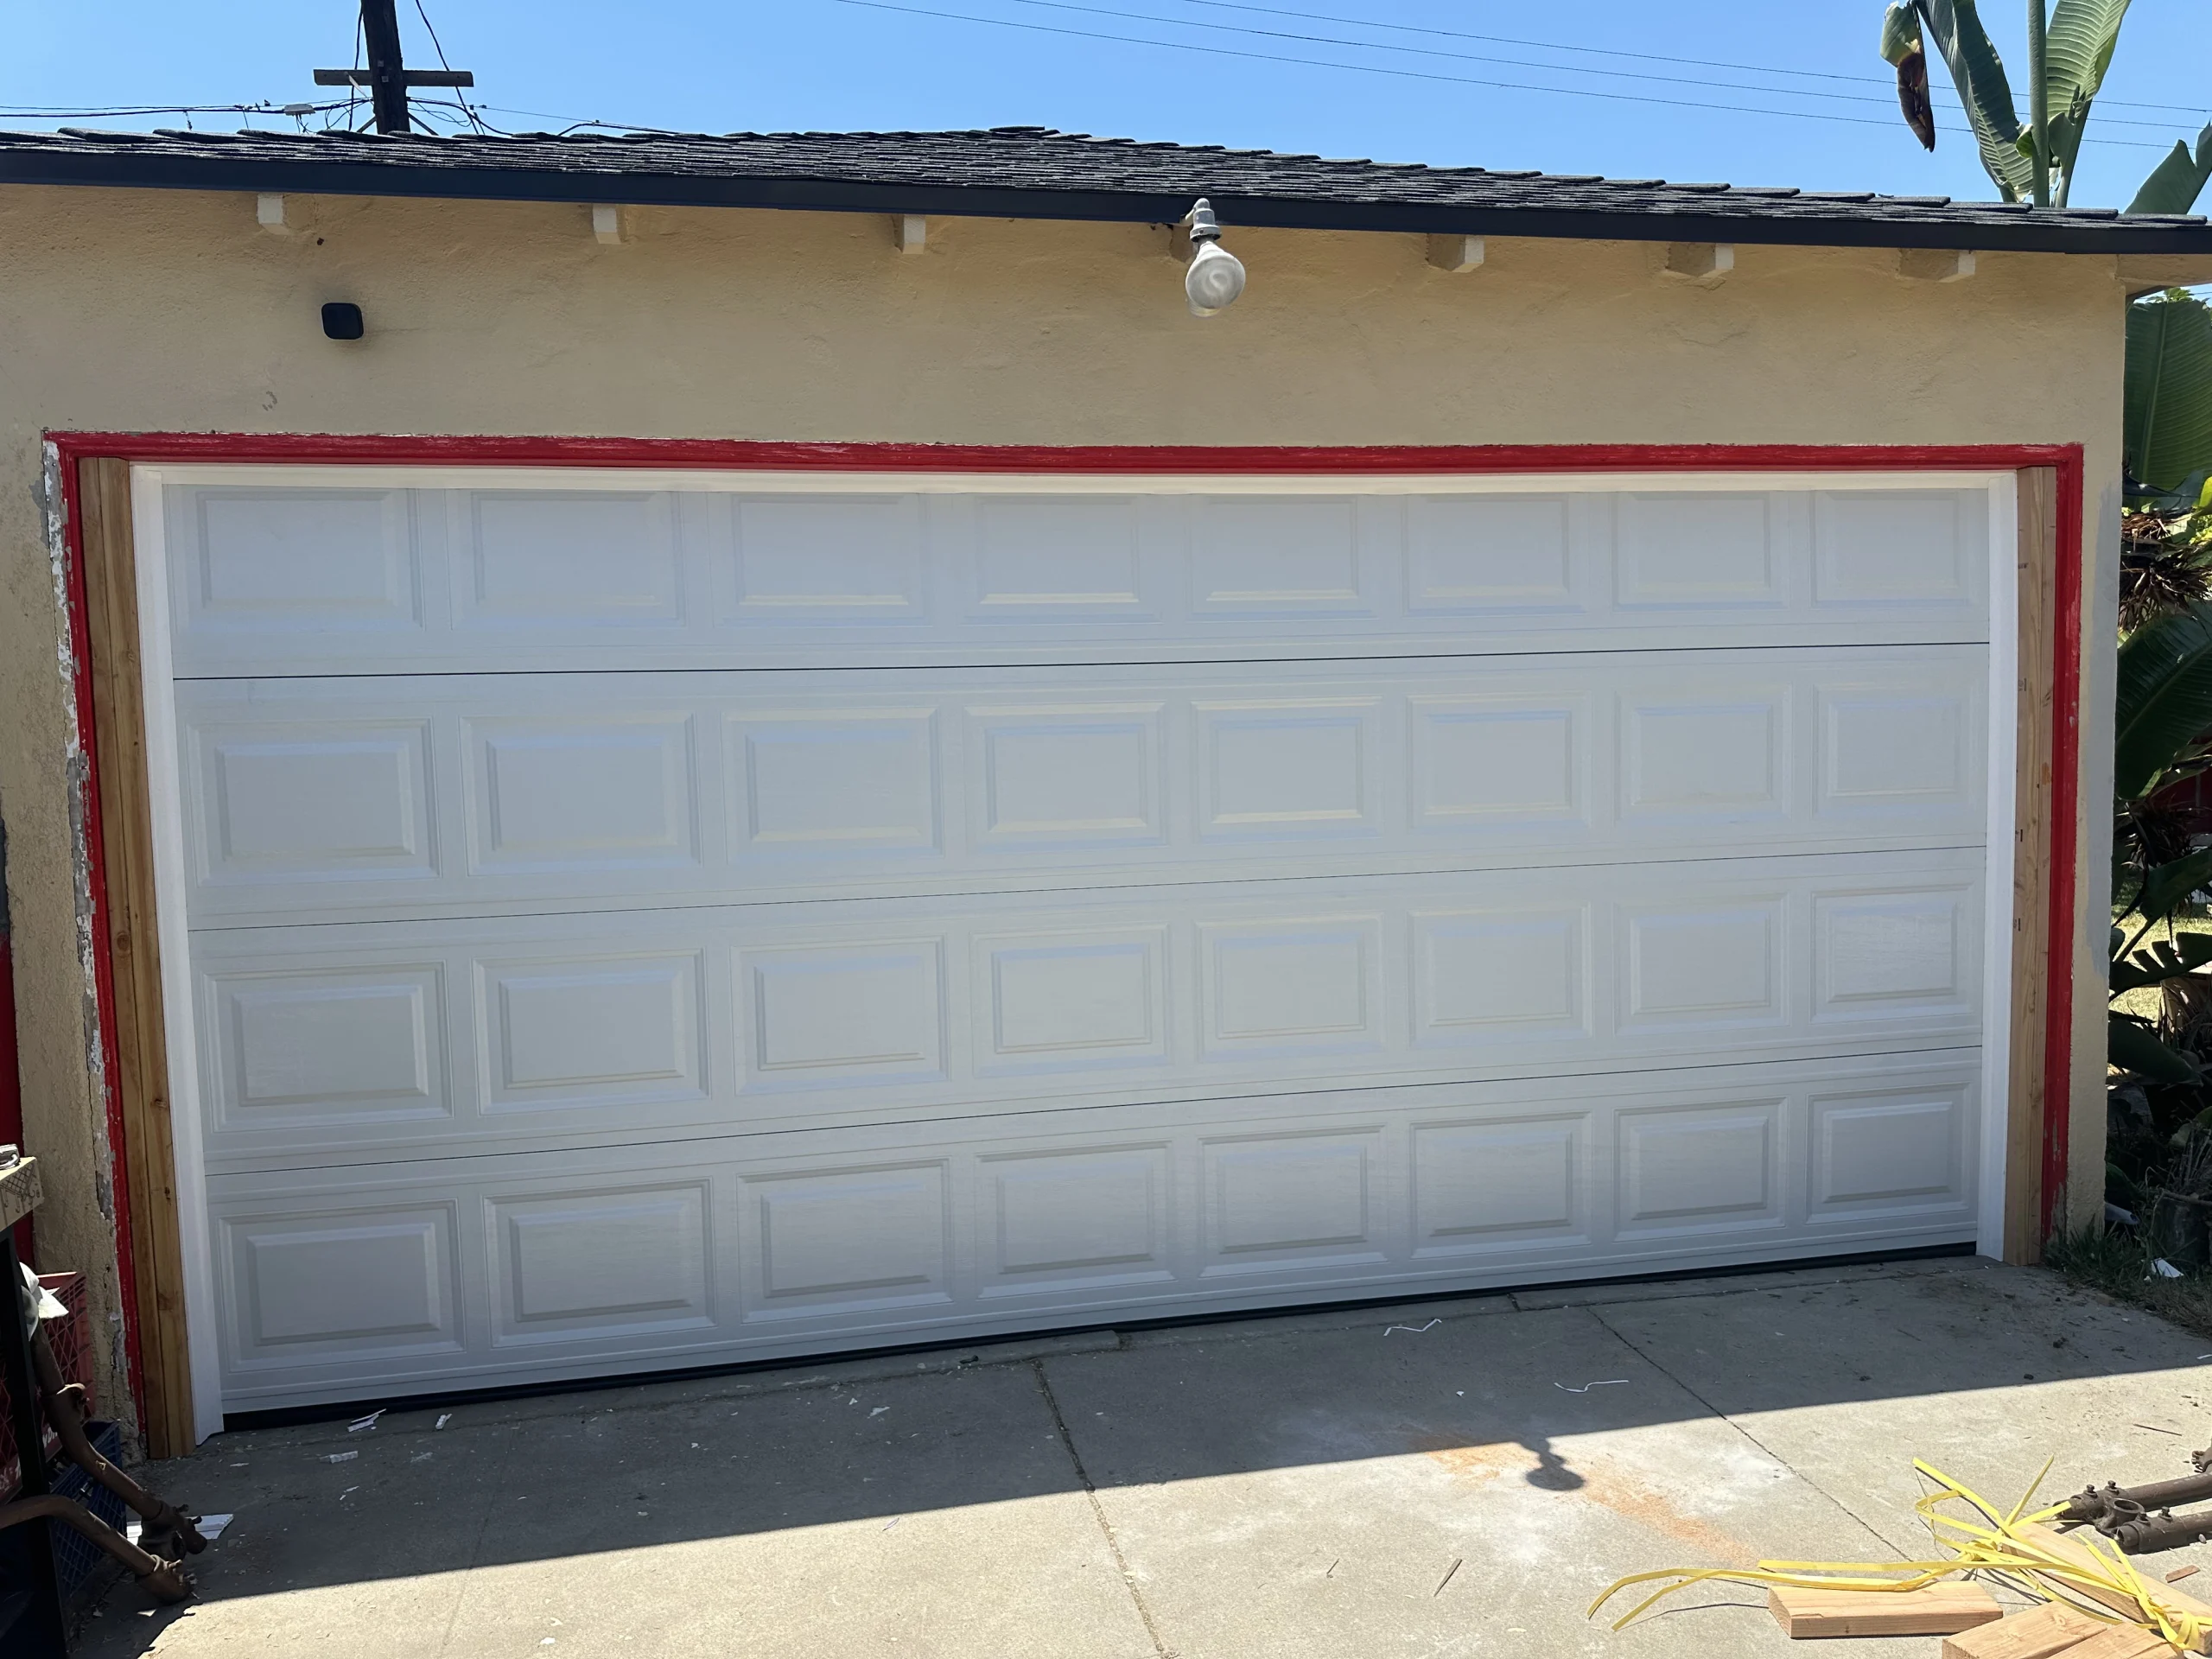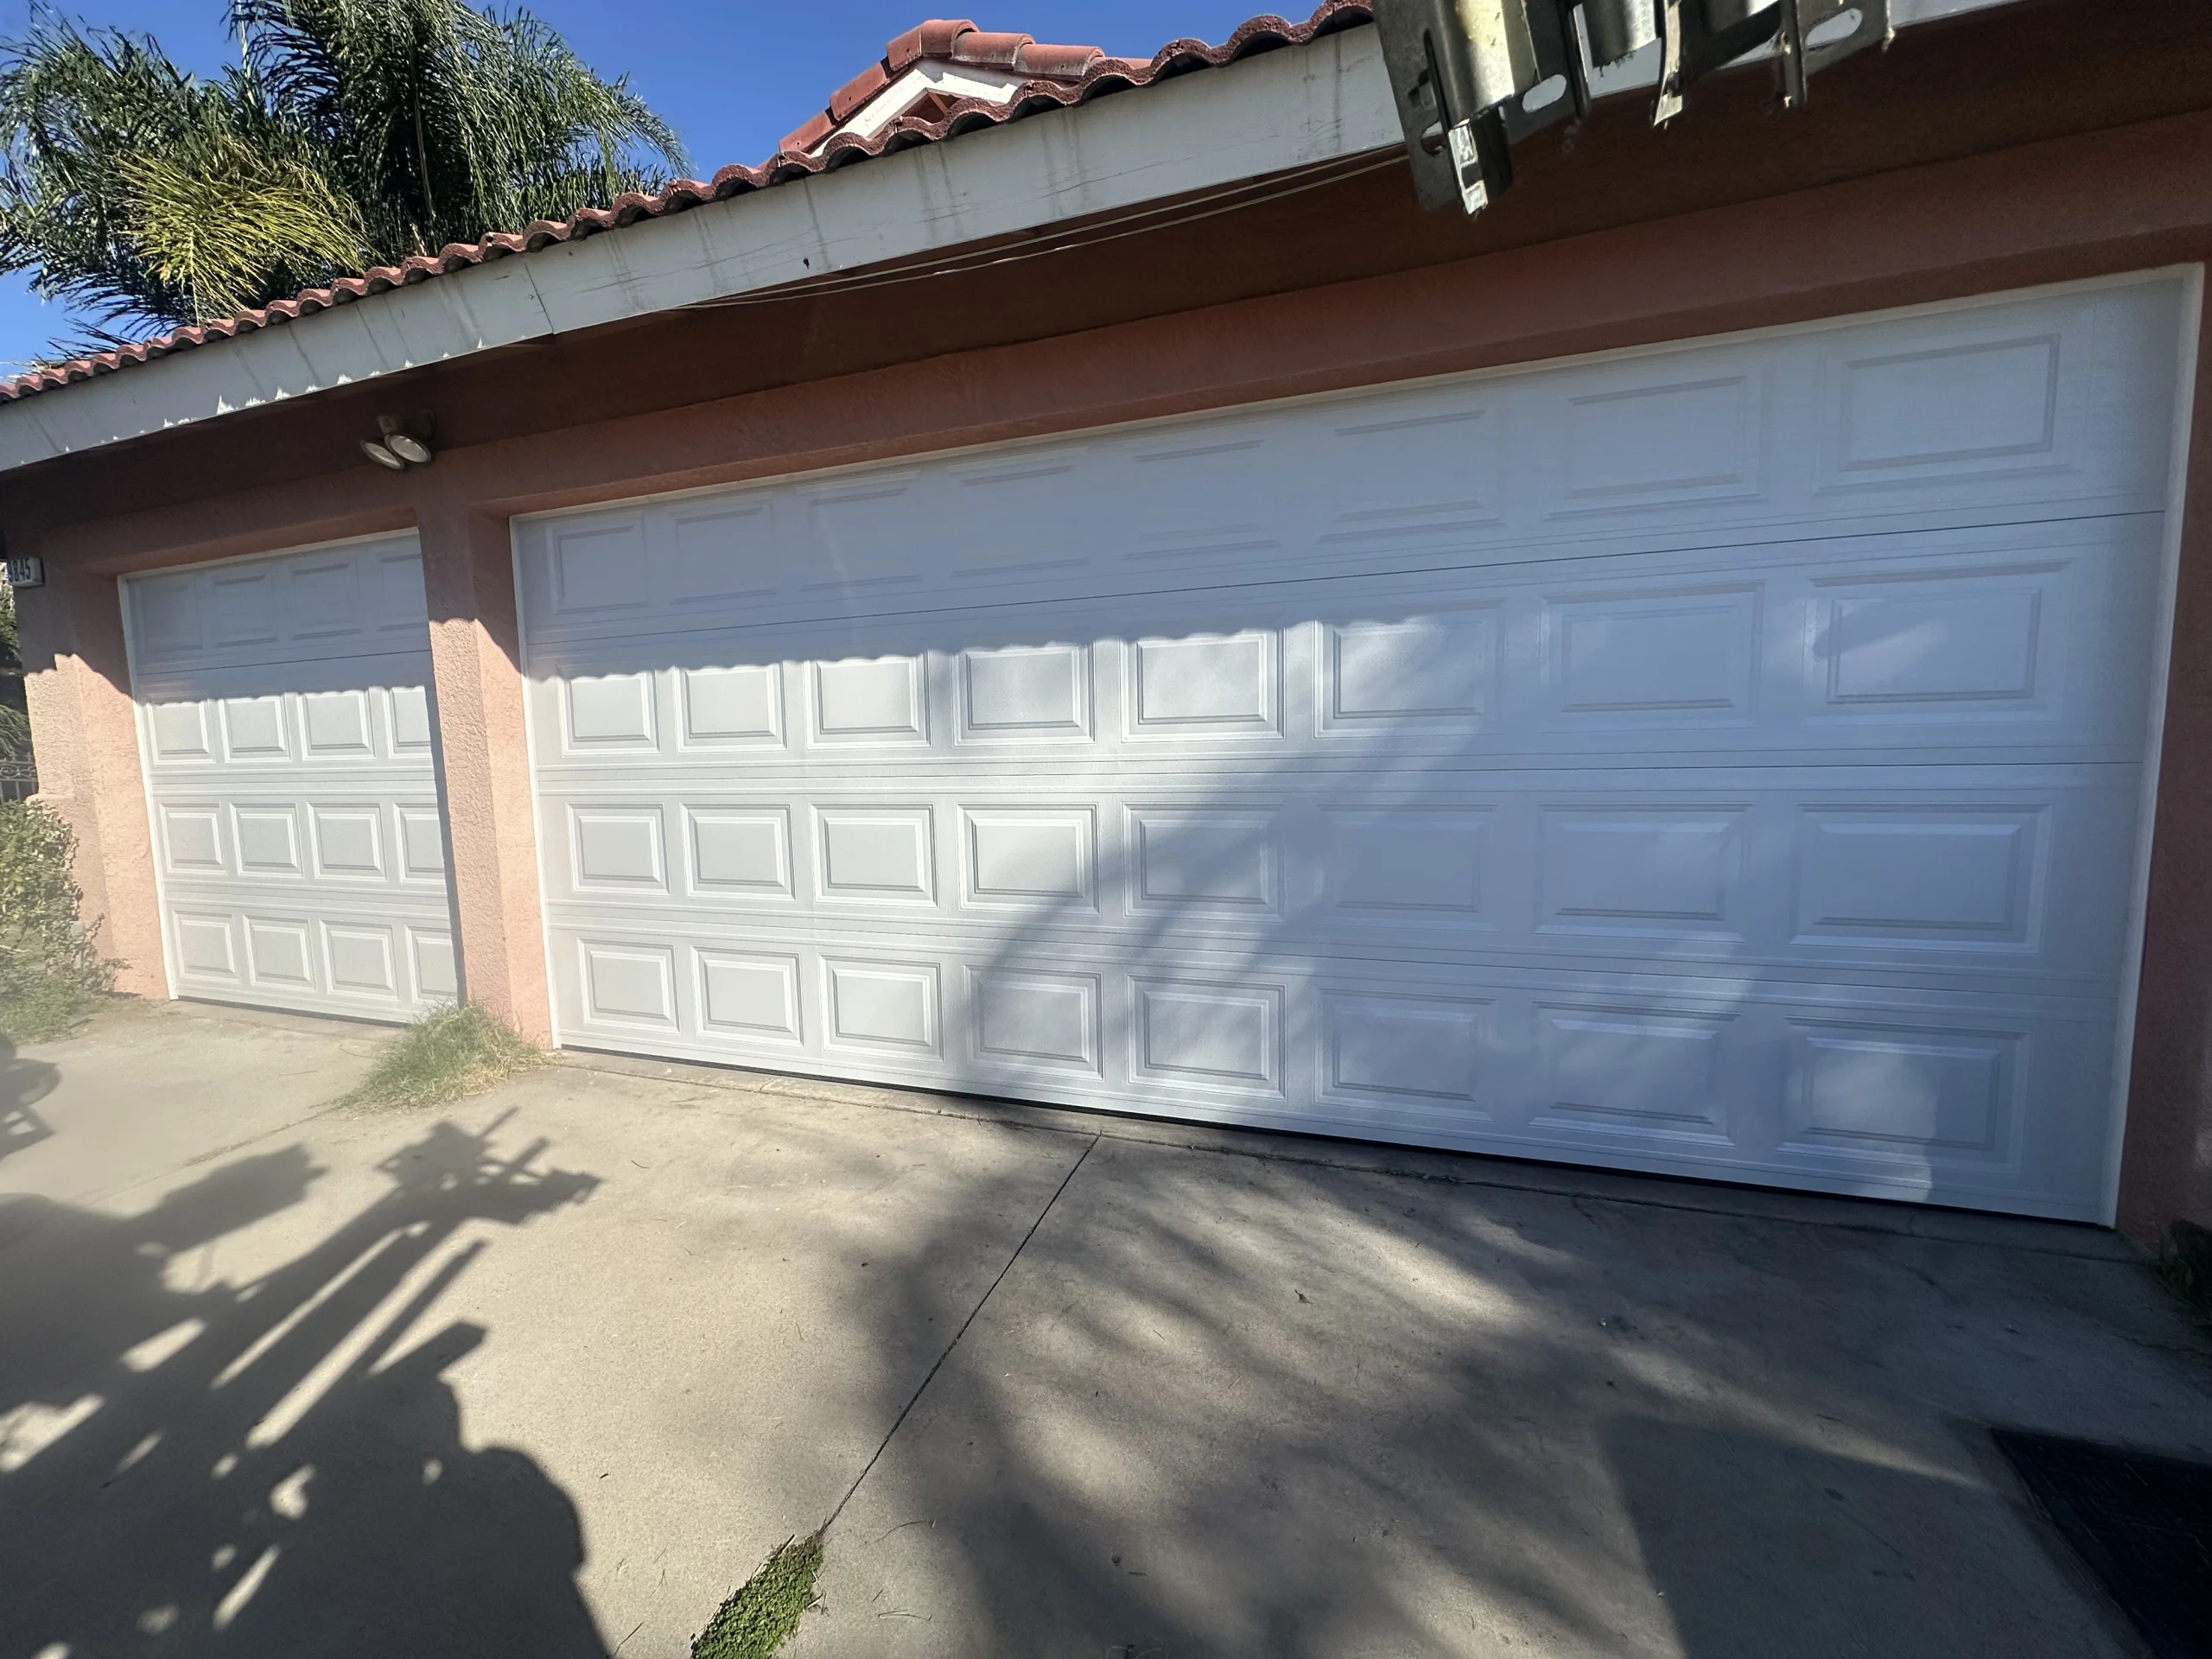
A garage door that starts closing, then immediately reverses can turn a normal morning into a frustrating delay. In many cases, the door itself is not the problem. Learning how to align garage door sensors can help you restore normal operation when the photo-eye sensors have been bumped, blocked, or shifted out of position.
Garage door sensors are a required safety feature on most modern automatic doors. They create an invisible beam across the bottom of the opening. If a person, pet, vehicle, or object interrupts that beam, the opener should stop the door from closing and reverse it. Proper alignment keeps that protection working as intended, so this is not a feature to bypass or ignore.
How to Align Garage Door Sensors Safely
Before making adjustments, unplug the garage door opener or turn off power at the outlet if you will be handling wiring. Keep the door fully open while you work, and make sure children and pets stay clear of the garage doorway.
Look for the two small sensor units near the bottom of the vertical garage door tracks. They are typically mounted four to six inches above the floor, with one sensor on each side of the opening. Each unit has a small lens and an indicator light. One sensor sends the beam, while the other receives it.
Start with the simplest causes first. Wipe both lenses gently with a clean, soft cloth. Dirt, cobwebs, leaves, and road dust can block the beam just as effectively as a misplaced storage bin. In Los Angeles garages, windblown debris and dust are especially common issues, particularly when the garage is used for frequent entry or storage.
Next, check the area between the sensors. Remove anything that may be breaking the beam, including tools, boxes, bicycles, hoses, trash cans, or low items that are easy to miss. Also inspect for tall grass, mulch, or a floor mat that may have shifted in front of a sensor.
Once the lenses and path are clear, look at the indicator lights. On many systems, a steady light on both sensors means the beam is connected. A flashing or unlit LED often means one sensor is misaligned, dirty, damaged, or not receiving power. Light patterns vary by manufacturer, so the owner’s manual can help if your system uses a different indicator setup.
Adjust the sensor brackets slowly
If one light is blinking, loosen the wing nut or small fastener holding that sensor bracket just enough to move it. Do not remove the sensor from the bracket or pull on its wiring. Gently point the sensor toward the unit on the other side of the opening.
The goal is for both lenses to face each other directly at the same height. A tape measure can help confirm that the centers of both sensors sit an equal distance above the garage floor. Even a small difference in height can cause a weak or inconsistent connection.
Move the sensor in small increments while watching its indicator light. When the light becomes solid, hold the bracket in position and tighten the fastener carefully. Overtightening can twist the bracket again, which puts the sensor back out of alignment.
Repeat the process on the other side if needed. In many cases, only one sensor has shifted after being bumped by a car tire, trash bin, lawn equipment, or a child’s bicycle. Still, it is worth checking both brackets for looseness, rust, cracks, or signs that they have been bent.
Test the Door After Aligning the Sensors
After both sensor lights are steady, restore power to the opener and test the door using the wall button or remote. Stand clear of the opening as the door moves. The door should close smoothly without stopping or reversing.
Then test the safety sensors themselves. Start the door closing and wave a long-handled object, such as a broom, through the beam near the floor. The door should stop and reverse before reaching the ground. Never use your hand, foot, body, pet, or vehicle to perform this test.
You should also test the opener’s pressure-reversal feature, which is separate from the photo-eye sensors. Place a solid object, such as a piece of scrap wood laid flat, on the floor beneath the door’s path. When the closing door contacts the object, it should reverse promptly. If it does not, stop using the automatic opener until a qualified technician can inspect the system.
Why Sensors Keep Going Out of Alignment
A one-time sensor adjustment is common. Repeated misalignment usually points to an underlying issue worth addressing. A loose mounting bracket may slowly vibrate out of position each time the door operates. A bent track, damaged bottom roller, or unstable framing near the opening can also affect where the sensors sit.
Sunlight can create another complication. Direct afternoon sun may shine into a receiving sensor and interfere with the beam, even when the sensors are properly aligned. This can be more noticeable in garages that face west or have limited shade. A technician may be able to adjust the sensor angle, improve the mounting position, or install an appropriate shield without blocking the safety beam.
Wiring problems are also possible. Look for visible cuts, pinched wires, loose connections, or rodent damage along the sensor wire path. Do not attempt to splice or replace low-voltage sensor wiring unless you are comfortable working with your specific opener system. A poor repair can create intermittent failures that are harder to diagnose later.
When Sensor Alignment Is Not the Real Problem
If the sensor lights are solid but the garage door still will not close, the issue may be with the opener settings, remote controls, wall button, travel limits, or the door’s mechanical condition. A door that is binding in the tracks, off balance, or damaged can trigger problems that look like a sensor failure.
Pay attention to warning signs such as grinding noises, jerky movement, a crooked door, frayed cables, bent tracks, or a door that feels unusually heavy when operated manually. These are not sensor-alignment issues, and they should not be treated as a do-it-yourself adjustment. Garage door springs and cables store significant tension and can cause serious injury if handled incorrectly.
It is also time to call for professional service if the sensor brackets are broken, the LEDs remain off after checking power and alignment, the door only closes when you hold down the wall button, or the system reverses without a clear cause. Holding down the wall control can force some openers to close in a limited override mode, but it should only be used to secure the property temporarily while the safety system is being repaired.
Keep Sensors Working Between Service Visits
A quick visual check every few months can prevent many sensor-related service calls. Keep the bottom corners of the garage opening free of stored items, wipe the lenses when you clean the garage, and make sure both brackets remain secure. If your garage door receives daily use, include sensor testing in your regular maintenance routine along with checking the door’s balance, rollers, hinges, and weather seal.
For homeowners, property managers, and small business owners, a reliable garage door is part of everyday security and access. If alignment does not solve the problem or you notice damage around the door system, Samurai Doors and Gates can provide professional inspection and repair support in Los Angeles and surrounding communities. A properly working sensor system protects the people and property that pass through your garage every day.